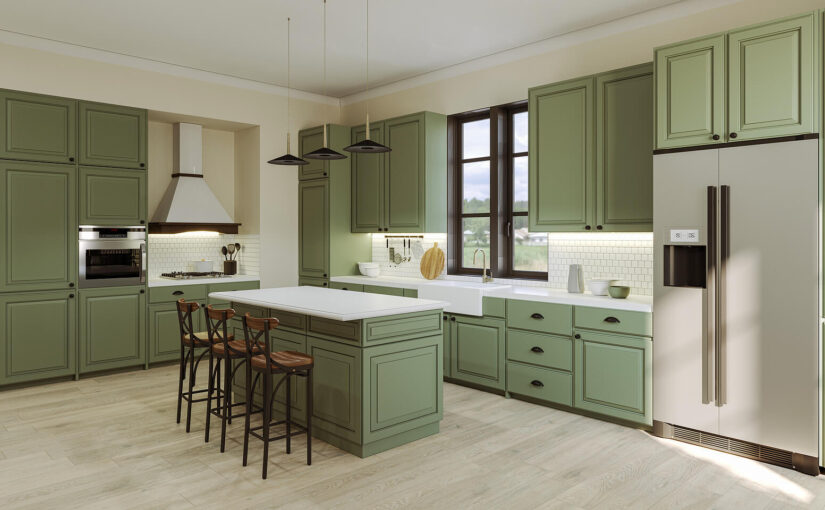
The kitchen is the bustling heart of every home and often bears the brunt of daily life.
While traditional kitchen replacements can strain both your finances and the environment, there’s a creative alternative worth exploring: upcycling.
Uncover the art of revitalising your kitchen on a budget —breathing new life into familiar spaces.
Join us as we delve into the why and how of upcycling, offering a sustainable solution for a refreshed culinary haven.
Why upcycle kitchen cupboards and worktops?
Kitchens can rapidly look tired, and having a brand new kitchen fitted every decade isn’t financially viable for most people.
Creating a new kitchen on the tightest budget is possible by upcycling your kitchen cabinets and worktops and adding a splash of paint to the walls.
As a bonus, this process is much quicker than a complete kitchen re-fit, meaning you won’t live in a demolition zone for weeks — or struggle without cooking or laundry facilities.
The environment also benefits when you upcycle your kitchen as this sustainable option keeps your old kitchen out of landfill sites and reduces the demand for new products to be manufactured.
How to upcycle a kitchen
Let’s dive into how you can upcycle aspects of your kitchen.
How to upcycle kitchen cupboards
If your kitchen shows signs of wear and you’re content with the existing layout, consider repurposing your cabinets instead of investing in new ones.
Upcycling is still an option if a layout change is on your mind, but meticulous measurements and planning are crucial. Even a slight discrepancy can lead to significant issues, so seeking professional advice might be wise.
Whether preserving or switching the original layout, you can breathe new life into your cupboards, provided the frames and doors are structurally sound.
Paint the cupboards
Transforming old kitchen cabinets is a breeze with a fresh coat of paint. This straightforward technique works wonders, especially if your existing units boast a dark hue and you’re aiming for a lighter, brighter aesthetic.
Prep the room
Before diving into the transformation, prep your workspace diligently. Clear the room of movable items, including furniture and cabinet contents.
Safeguard your kitchen and home from paint and dust using tape and plastic sheeting. Mask the walls surrounding the cabinets and establish a dedicated painting workspace.
Disassemble the kitchen cupboards
Systematically remove doors, drawers, and shelves — starting from the left and progressing to the right.
Mark each piece for easy reassembly — numbered masking tape works wonders for clarity. Keep all hardware aside for reuse once the painting process is complete.
This organised approach ensures a seamless experience.
Clean the surfaces
Spritz every surface with a degreaser solution to banish oils, then wipe the solution away. Follow up with a thorough rinse of the surfaces, allowing them to air-dry naturally.
Prep the surfaces
Use a liquid deglosser and an abrasive pad to scrub every surface in a well-ventilated space while wearing suitable PPE. Clear away any residue with a clean rag lightly dampened in deglosser.
Next, gently scuff each cabinet, door, and drawer to enhance primer adhesion.
Complete the process by vacuuming thoroughly and wiping with a tack cloth, removing all lingering dust.
Prime the surfaces
Choose an oil-based or latex primer for your project. Employ a paint tray to cover expansive areas, such as door fronts, using a roller, and address edges and intricate spots with a brush.
After the primer dries, smooth the surfaces with 220-grit sandpaper on flat areas and a medium-grit sanding sponge elsewhere, ensuring a velvety finish. Address imperfections by applying filler, letting it dry, and seamlessly blending with sanding.
Complete the process with a thorough vacuuming and a final pass with a tack cloth to eradicate any lingering dust. Your surfaces are now primed to perfection.
Apply the paint
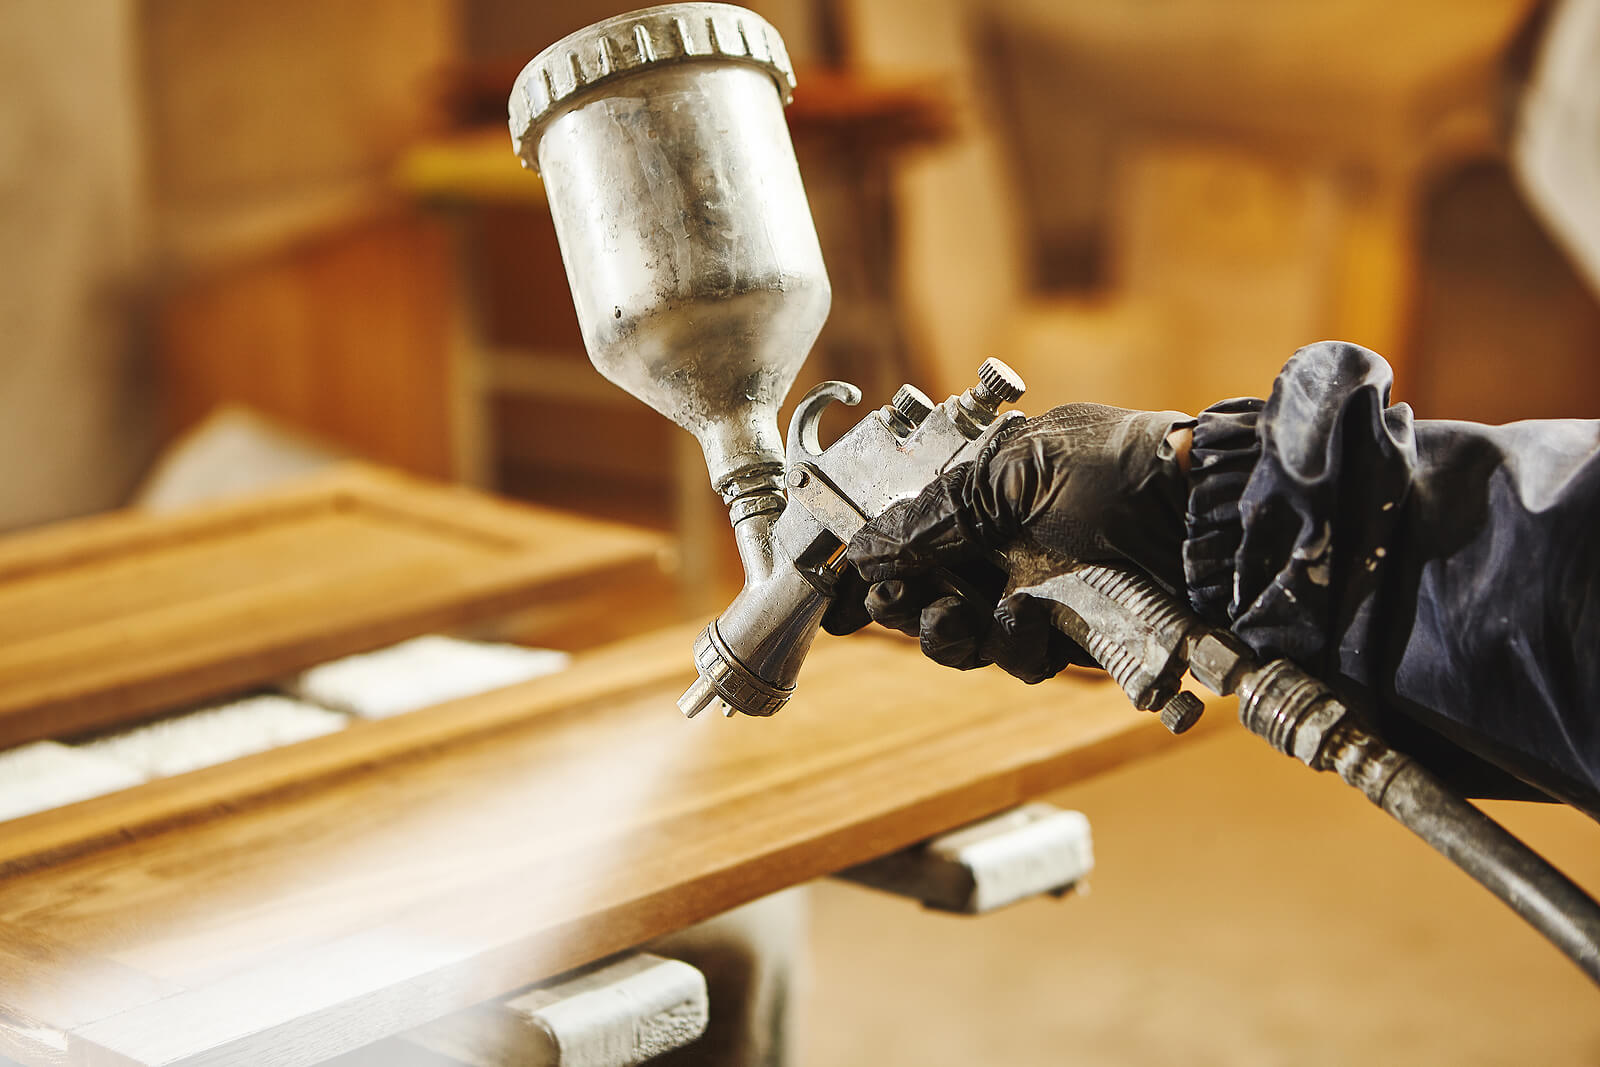
Begin with the cupboard carcasses, progressing to shelves, doors, and drawers. Employ a roller and paintbrush for consistent enamel paint application, mirroring the technique used for the primer.
A spray gun is an alternative option for perfect coverage.
One coat may suffice for a uniform cupboard colour, but two coats are likely needed. Consider three coats for optimal coverage if it’s a lighter shade than the original. Lightly sand each previous coat and clean up dust between applications.
Dry the wet doors on sturdy clothes hangers, using hooks for convenience. Revel in the transformation as your freshly painted surfaces come to life.
Refit the kitchen
Once the freshly painted surfaces are dry, embark on the final phase of your project. Reintegrate shelves, drawers, and doors — remove the numbered tape pieces as you go. Reassemble everything carefully, using the original or new hardware for a seamless finish.
Finally, step back and marvel at your rejuvenated kitchen.
How to upcycle kitchen worktops
Surprisingly, most people are unaware that tired kitchen countertops can be given a second life. Rather than buying a replacement, you can easily update them with a method tailored to their material.
Rediscover the potential within your existing worktops for a cost-effective and sustainable transformation.
Wooden worktops
Quickly refresh wooden worktops with a new coat of varnish. Alter the final look by choosing a darker varnish or sand down for a lighter touch.
Alternatively, infuse a splash of colour with paint — ensure you use primer and opt for durable paint, given the daily use of kitchen counters.
Consider a metamorphosing option with overlay worktops seamlessly fitted on your existing surface. While slightly pricier than varnish or paint, it remains a budget-friendly alternative to a total replacement.
Overlays — often crafted from quartz — offer the same aesthetics and resilience to heat, scratches, mould, and bacteria as a brand-new solid worktop. Discover an affordable upgrade without compromising on durability and style.
Laminate worktops
Revamp laminate kitchen worktops swiftly using contact paper, available in various finishes like marble, natural wood, and sleek gloss colours. The application requires a wallpaper smoothing tool and a generous dose of patience.
Beyond aesthetics, prioritise durability, water resistance, and heat resistance when selecting contact paper.
Painting is an alternative for those considering a more involved transformation, though it demands meticulous surface preparation.
Opting for an overlay worktop is another possibility, seamlessly concealing the original surface from view. Enjoy a discreet upgrade where only you are privy to the fact that it’s still the same countertop underneath.